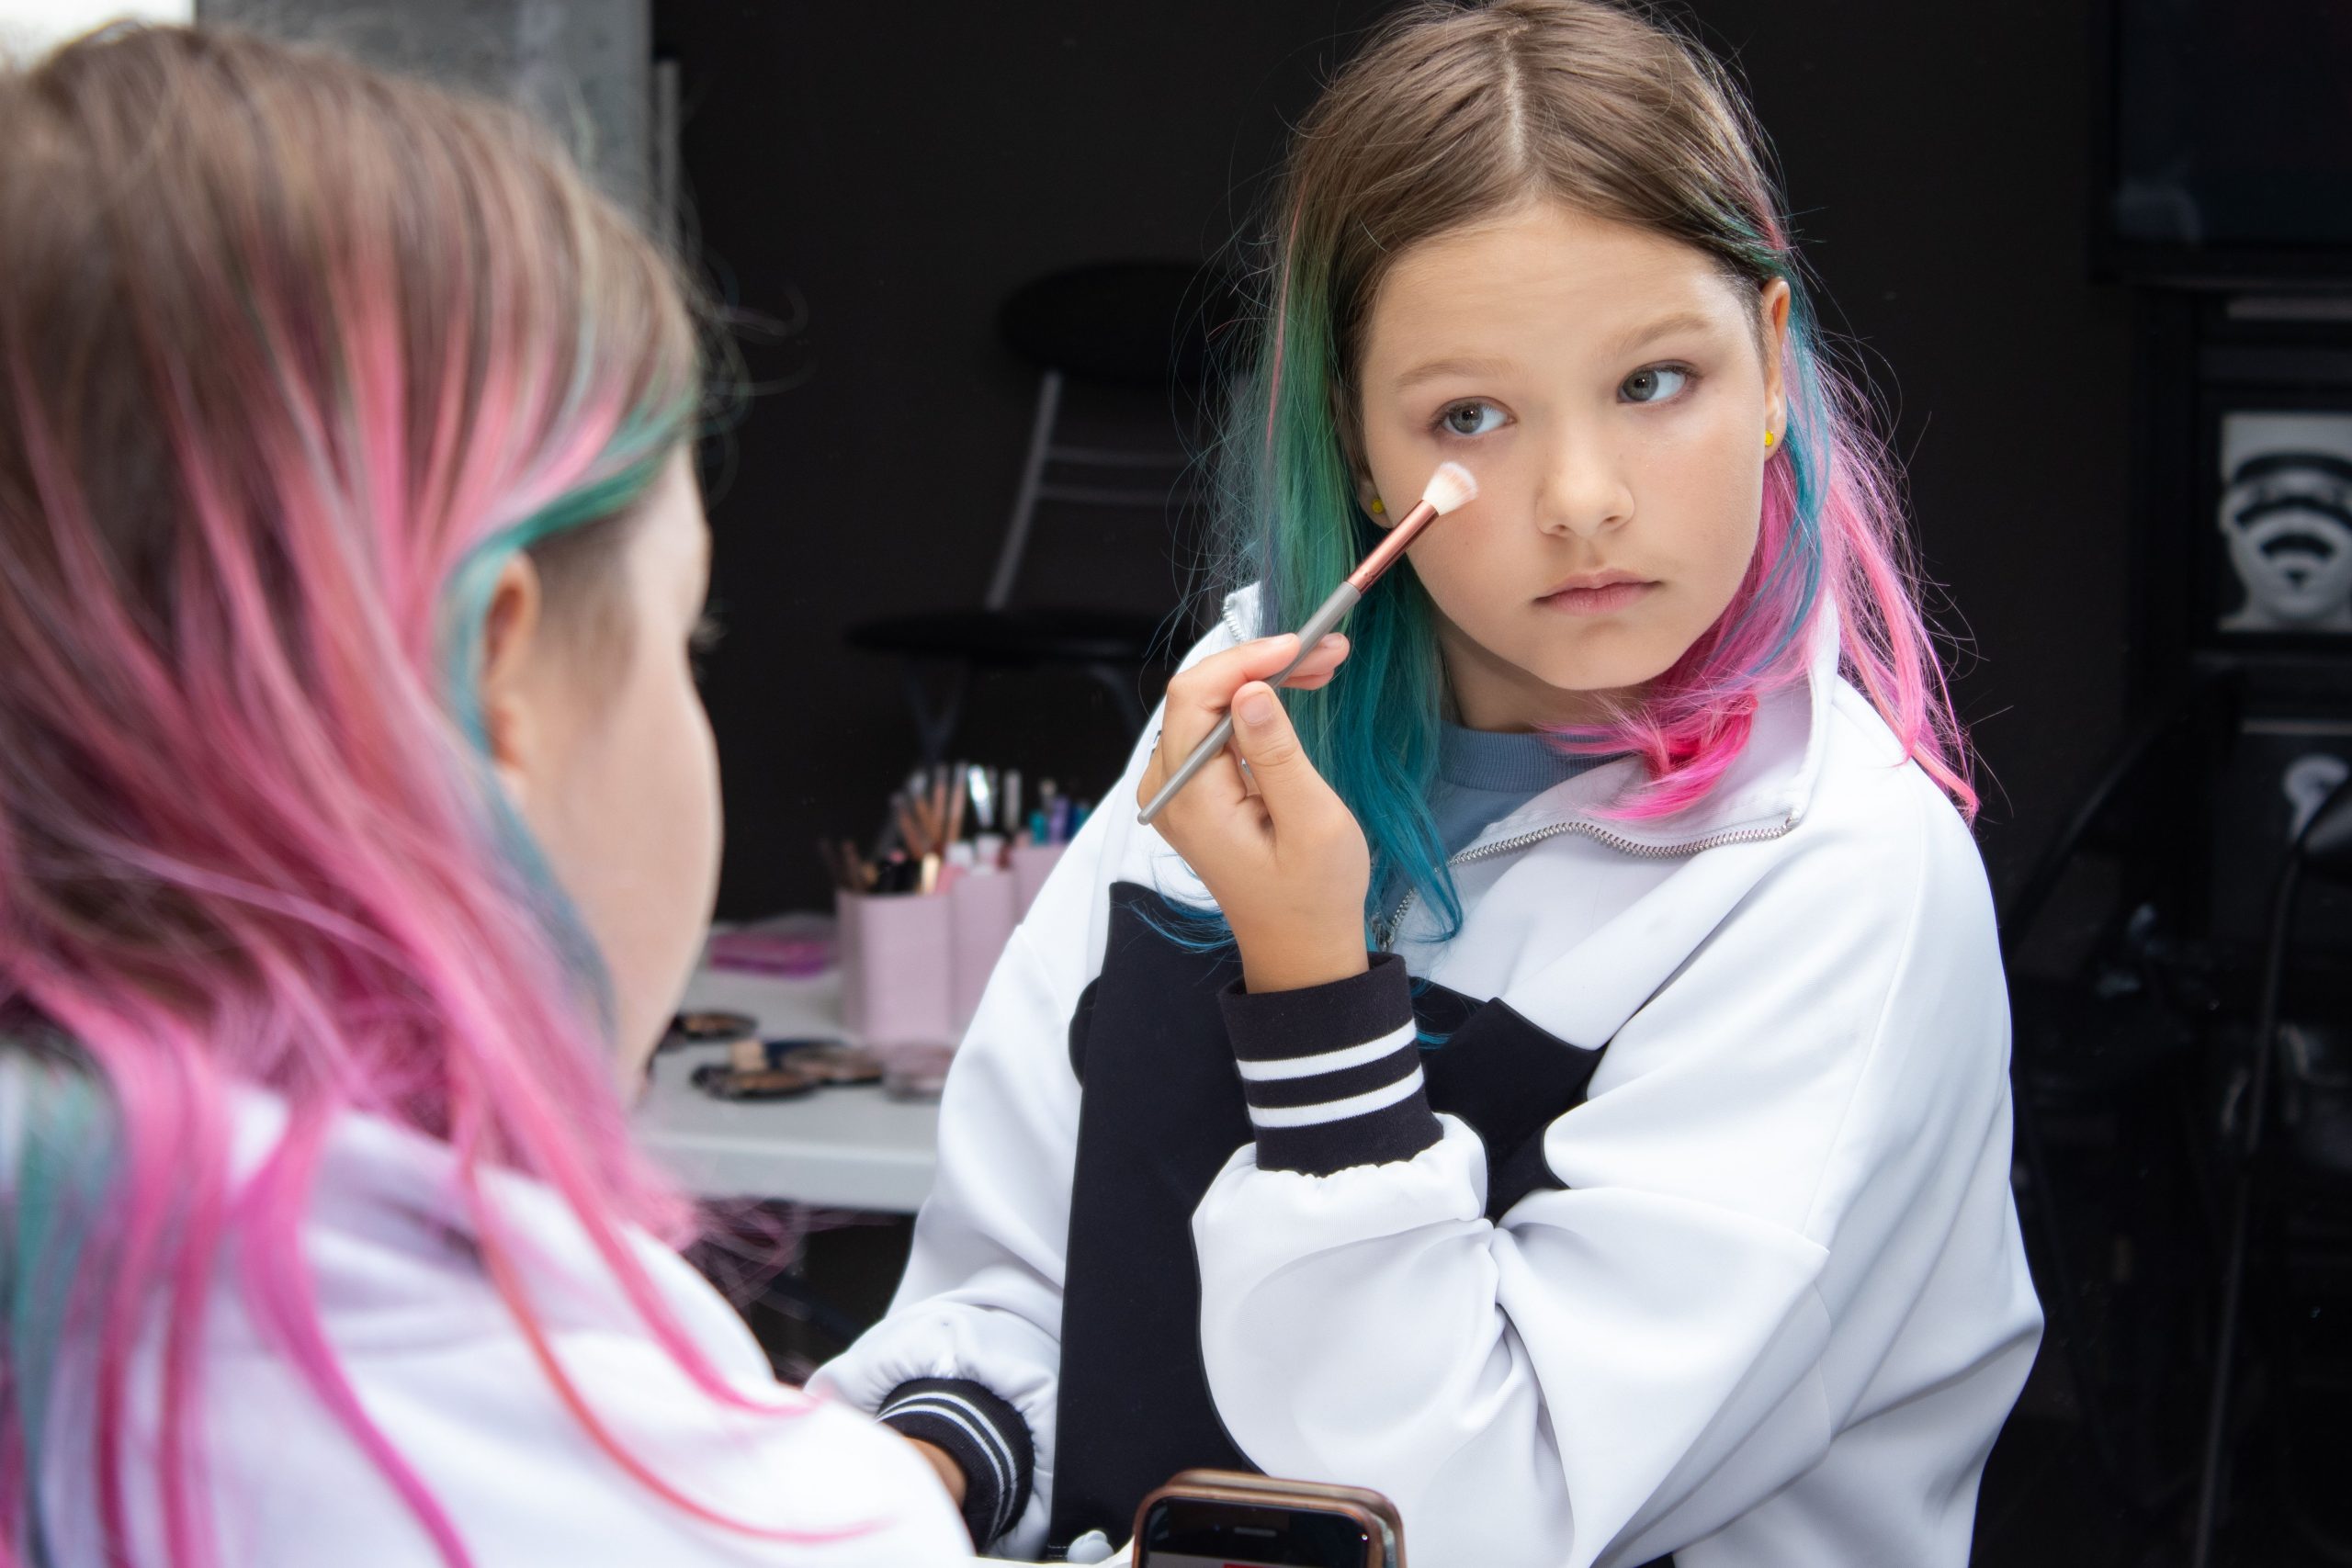
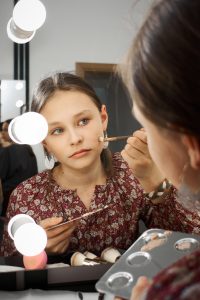
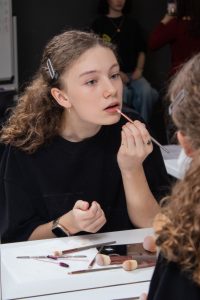
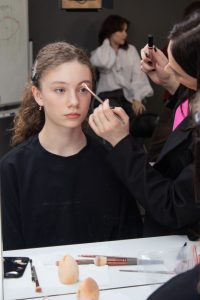
Makeup for schoolgirls is important, and it’s natural to want something that saves time while still looking simple and beautiful. Our professional experts walk you through a simple makeup routine that anyone can do without worrying about being late. We’ll also share fresh-looking makeup ideas suitable for school, and help you stay on budget by recommending affordable products.
- The “I Slept Through My Alarm” 5-Minute Routine
- Facial Cleansing
- Base
- Concealer
- Lip Care
- Brow Care
- The 10-Minute “Polished” Routine
- Toner
- Glow Serum
- Moisturizing Face Cream
- Eye Cream or Under-Eye Patches
- Soft Lift Blush Placement
- Lashes
- Product Picks (That Actually Survive a School Day)
- Makeup Looks Ideas for Different Vibes
- Natural Look (The No-Makeup Look)
- The “Doe Eyes” Makeup Look (Soft & Gentle)
- The “Soft Grunge” Vibe (Lived-in & Cool)
- The “Coquette” Aesthetic (Soft, Pink, & Girly)
- The “Academic” (Sharp & Focused)
- The “Sporty Fresh” Look (Clean, Active & Effortless)
- Tips for Long-Lasting Natural Makeup at School
- Dos and Don’ts
- How to Customize for Your Skin Type?
- Final Notes
The “I Slept Through My Alarm” 5-Minute Routine
We’ve put together five quick steps that help keep your skin fresh, reduce the risk of breakouts, and give your face a well-cared-for look.
Facial Cleansing

Remember that proper face cleansing has two steps. We live in an environment where the skin is exposed to many different types of pollution.
The first step is oil-based cleansing, and the second is water-based cleansing. Oil cleansing dissolves what water cannot remove on its own, including makeup, sunscreen filters, natural skin oils, and silicones.
Water-based cleansing removes any remaining oil and water-soluble impurities. Your pores and skin will look much better.
Here’s how you should cleanse your face:
- Start with the oil phase by reaching for something like the ELF Holy Hydration! Makeup Melting Cleansing Balm or The Ordinary Squalane Cleanser.
- Massage the balm onto your completely dry skin for a full minute, focusing on your nose and forehead.
- Once you rinse that away, move into the water phase with a gentle, pH-balanced wash. Use the CeraVe Foaming Facial Cleanser if you’re fighting afternoon shine, or the La Roche-Posay Toleriane Hydrating Gentle Cleanser if your skin feels tight or dry.
- Pay special attention to your hairline and jawline – most students break out there simply because they don’t rinse the soap off well enough near their ears.
- When you finish, never scrub your face with a bath towel because those are breeding grounds for bacteria. Instead, take a clean paper towel or a soft microfiber cloth and gently pat the water off.
Base
This is not about applying a thick layer of foundation. Your goal is not to cover up pores or imperfections, but to nourish your skin and protect it from external environmental factors. That’s why it’s best to use sunscreen. It may sound strange, but it’s important to understand that even on cloudy days, the sun still affects your skin. That’s why this step should never be skipped.
Good school friendly options include La Roche-Posay Anthelios Melt in Milk SPF 60 for a lightweight feel with no white cast, CeraVe AM Facial Moisturizing Lotion SPF 30 for sensitive or acne prone skin, and Neutrogena Hydro Boost SPF 30 for oily or combination skin.
Here’s the best way to apply these creams:
- Warm a small amount of product between your palms.
- Gently press it into the skin rather than rubbing. Pressing helps reduce redness and gives a more natural finish.
Concealer
This step is not mandatory if your skin is clear and free from irritation, redness, or other concerns. However, if you do have any of these issues, concealers can be your best ally.
Good school appropriate options include Maybelline Fit Me Concealer, e.l.f. Hydrating Camo Concealer, NARS Radiant Creamy Concealer, and NYX Bare With Me Concealer Serum.
Choose lightweight, flexible concealers that move with the skin and do not look heavy in natural classroom lighting.
Here’s how to use concealer correctly:
- Avoid applying concealer in large triangle or V shapes under the eyes. Instead, place a very small amount only where it is truly needed: the inner corners of the eyes, where darker shadows tend to be strongest, and a tiny dot on the outer corners to subtly lift the eye. You can also tap a minimal amount around the base of the nostrils to neutralize redness.
- Use your ring finger for application. The natural warmth of your skin helps melt the concealer slightly. If you can still see natural skin texture, you have applied the right amount.
- Gently tap the product into place. Do not swipe, as swiping simply moves the product around and reduces coverage. Tapping builds coverage exactly where needed and helps the concealer last longer.
Pro Tip: If you have morning redness on the cheeks, around the nose, or a fresh breakout, use a green tinted product only where needed. Green neutralizes redness, so you can even out the skin without heavy concealer. Take a very small amount, tap it onto red areas, and softly blend the edges with your fingers. Reliable options are e.l.f. Tone Adjusting Primer in Green, Dr. Jart+ Cicapair Color Correcting Treatment for calming sensitive skin, or NYX Green Color Correcting Concealer used sparingly.
Lip Care
Use a lip balm rather than a creamy or glossy lipstick. If you want more color, opt for a tinted balm instead. This will enhance your lips while keeping them protected and hydrated.
Good school friendly options include Burt’s Bees Tinted Lip Balm, Fresh Sugar Tinted Lip Treatment, NIVEA Tinted Lip Balm, and e.l.f. Hydrating Core Lip Shine.
Apply the balm generously so the lips stay moisturized throughout the day. Unlike lipstick or gloss, tinted balms fade evenly and do not draw attention when they wear off, which makes them ideal for long school days.
Choose shades that enhance your natural lip color rather than cover it completely.
Brow Care
Brows are more important than mascara. Well-groomed brows frame the face and instantly make the eyes look more open and the features more balanced. Think of brows as the structure that holds the entire look together.
Good school-appropriate options include e.l.f. Wow Brow Gel, Maybelline Brow Fast Sculpt Gel, Glossier Boy Brow, and NYX Control Freak Clear Brow Gel.
Here’s what you should focus on when it comes to your brows:
- Start by brushing the brow hairs upward and slightly outward using a clean spoolie or brow brush.
- If your brows need a bit more hold, use a clear or lightly tinted brow gel. Apply a small amount and comb through the brows in upward strokes, then lightly shape the tail outward.
- Avoid overfilling or drawing harsh lines.
The 10-Minute “Polished” Routine
If you have an extra 5 minutes, here are a few additional steps worth adding to your routine.
Toner
After cleansing, the skin often loses moisture, may become slightly imbalanced in pH, and can absorb serums and creams less effectively.
A toner performs three key functions:
- It instantly hydrates the skin and relieves tightness.
- It helps restore the skin’s balance after cleansing with water.
- It preps the skin for the next steps of your routine, enhancing the effectiveness of serums and creams.
That’s why you should apply toner immediately after your two-step cleansing routine. Here’s what you need to do:
- If you deal with midday oiliness or blackheads, you want an exfoliating toner like The Ordinary Glycolic Acid 7% Toning Solution or Paula’s Choice Skin Perfecting 2% BHA. Soak a cotton pad and sweep it across your T-zone to dissolve the “glue” holding dead skin cells in your pores.
- For the everyday “Clean Girl” look, you should stick to a hydrating toner or a milky essence to get that dewy finish. Heritage Store Rosewater & Glycerin or the Laneige Cream Skin Toner & Laneister are gold standards for this. Instead of using a cotton pad, pour a few drops into your palms and press it directly into your face while it’s still damp from cleansing.
- Always wait about 30 seconds for the toner to feel “tacky” before moving on to your moisturizer or SPF..
Glow Serum
While you’re young and under 25, this step isn’t essential. However, even at an early age, skin can look tired due to lack of sleep. A glow serum helps bring back freshness and natural radiance.
Try to avoid strong acids or aggressive components. For example, Garnier Vitamin C Booster Serum is a good affordable option that adds freshness and glow without feeling heavy on the skin.
Here’s how to properly use a face serum:
- Apply the serum to clean, slightly damp skin right after toner. Use one to two drops and gently spread it over your face using your fingertips.
- Avoid rubbing or pressing too hard.
- Let the serum absorb for about 30 to 60 seconds before applying moisturizer or SPF.
Moisturizing Face Cream
This step is best done before applying SPF, and it’s especially important if you have light, very dry skin. A good moisturizer keeps your skin hydrated all day and helps prevent dryness, irritation, and tightness after cleansing and toner. It also creates a smooth base for sunscreen and any makeup you might use.
You can use CeraVe Daily Moisturizing Lotion. If your skin feels very dry, La Roche-Posay Toleriane Double Repair Moisturizer is a good solution.
How to apply:
- Apply your moisturizer after toner and serum, while the skin is still slightly damp.
- Use a pea-sized amount and gently spread it over your face using light, upward motions.
- Avoid rubbing or pulling the skin.
- Let the cream absorb for about one minute before moving on to sunscreen.:
Eye Cream or Under-Eye Patches
The skin under your eyes is much more delicate and sensitive than the rest of your face, which is why it deserves its own care step.
For school-friendly under-eye care, you can use either a light eye cream or hydrogel eye patches depending on what you need. Good options for everyday use: CosRx Advanced Snail Peptide Eye Cream, Eczema Honey Multi Peptide Eye, CeraVe Skin Renewing Eye Cream For Wrinkles, Avène Soothing Eye Contour Cream, and Colorescience Total Eye 3-In-1 Renewal Therapy SPF 35.
Here’s how to use it:
- Apply eye cream after your moisturizer but before sunscreen. Use a very small amount for both eyes, about the size of a grain of rice.
- Lightly dot the product under the eyes and gently tap it in using your ring finger.
- Do not rub or pull the skin.
- Let it absorb fully before moving on to SPF or makeup.
For a quick, temporary boost, using hydrating under-eye patches can help instantly reduce puffiness and provide moisture. These are nice to use before a big day or right before school to make your under-eyes look more awake for a few hours. For example, Petitfee Gold Hydrogel Eye Patches are the best option for cooling.
Soft Lift Blush Placement
Soft lift blush placement is a way of applying blush so the cheeks look fresh and naturally lifted. It adds a healthy flush and subtle definition, making the face look more awake and balanced. Choose soft shades, depending on your skin tone.
Good school-appropriate options include Rare Beauty Soft Pinch Liquid Blush (used very sparingly), e.l.f. Putty Blush, Glossier Cloud Paint, and Milani Cheek Kiss Cream Blush.
How to apply:
- Use a very small amount of product. If you are already wearing a light base or tinted SPF, take whatever blush remains on your fingers or brush and apply it high on the cheekbones, close to where a highlighter would normally sit.
- Avoid the apples of the cheeks. Placing blush higher visually lifts the face and makes you look more awake and refreshed, even on short sleep.
Lashes
Mascara instantly makes your face look more awake, even if you’re wearing no other makeup. Easy, natural-looking mascaras for school: Maybelline Lash Sensational Sky High, Essence Lash Princess (green tube), and Glossier Lash Slick.
How to apply:
- Start by curling your lashes, this alone opens up your eyes.
- Add one light coat of mascara, focusing on the roots and brushing upward.
If mascara feels like too much, clear mascara works just as well to keep lashes lifted and neat.
Product Picks (That Actually Survive a School Day)
Here are some high-quality and affordable products that can save your day:
| Product | Why It’s Better? | Where to Buy? |
| e.l.f. Wow Brow | $5, looks natural, holds all day | Target, Walmart |
| NYX Control Freak Clear Brow Gel | Clear, foolproof, works for brows, lashes, and flyaways in emergencies | CVS, Walgreens |
| Hero Cosmetics Rescue Balm | Smooths flaky or popped pimples so the concealer sits flat instead of cracking | Ulta, Amazon |
| Dr. Jart+ Cicapair Color Correcting Treatment (mini) | Cancels redness without foundation | Sephora, YesStyle |
| NYX Bare With Me Concealer Serum | Hide all your skin problems | CVS, Walgreens (use rewards) |
| Maybelline Fit Me Concealer | Easy finger blending, natural coverage | Target, Walmart |
| Maybelline Lash Sensational Sky High | Lengthens without clumps or flakes. Hold curl through the day | Target, Ulta |
| Essence Lash Princess (Green Tube) | Ultra-affordable, doesn’t look heavy | Ulta |
| Clear Mascara (e.l.f. / CoverGirl) | Lifts lashes with zero “makeup” look | Target |
| Burt’s Bees Tinted Lip Balm | Hydration + soft color that fades evenly | Target, CVS |
| e.l.f. Hydrating Core Lip Shine | Glossy look with balm comfort | Target, Ulta |
| e.l.f. Putty Blush | Creamy, foolproof | Target, Ulta |
| Glossier Cloud Paint | Sheer, one dot is enough | Sephora, Glossier |
| e.l.f. Stay All Night Setting Mist | Locks makeup without dryness or stiffness | Target, Ulta |
| NYX Bare With Me Prime Set Refresh Spray | Keeps skin comfortable and fresh through long days | CVS, Walgreens |
| Clean & Clear Oil Blotting Sheets | Removes shine without disturbing makeup | Amazon |
| Mini Hand Cream (NIVEA / Glossier) | Soft hands = instantly more polished | Target, Sephora |
Pro-Tip: If you’re shopping at Target, always use their app to scan the barcode while you’re standing in the aisle. Sometimes the online price is $1-$2 cheaper than the shelf price, and they will “price match” it at the register right there. That’s an extra $2 for a post-school snack!
Makeup Looks Ideas for Different Vibes
We hope you now understand why a basic skincare routine is so important. If you’d like to see what kind of look you can create to become the star of your class or make a great impression as a polished and responsible student, here are a few ideas for you.
Natural Look (The No-Makeup Look)

The “clean girl” makeup look beautifully enhances a teen’s natural elegance at celebrations and special occasions. Its secret lies in highlighting your natural features and creating the impression of a makeup-free face.
To complete the “clean girl” look, people often style their hair in a sleek ponytail. However, this makeup also looks great with relaxed, slightly tousled hair for a softer, effortless vibe.
Here’s how to create this look:
- Start with the basic 5-step skincare routine described above.
- If needed, apply a small amount of concealer only on areas with imperfections or under the eyes and gently tap it in.
- Apply one thin coat of mascara, using soft strokes. In some cases, you can skip mascara altogether and simply run a kohl pencil lightly along the lash line once or twice for a natural definition.
The “Doe Eyes” Makeup Look (Soft & Gentle)
This delicate eye makeup is perfect for round faces and eyes of any shape. You can create a soft, unforgettable look without overloading your face with too many products.
Here’s how to create this look:
- Start with clean, moisturized skin. If you use any base makeup, keep it light and natural.
- Use a brown or soft kohl pencil to line the upper lash line very close to the lashes. Gently smudge it so the line looks soft, not sharp.
- Apply a tiny bit of light, shimmery highlighter to the inner corners of your eyes to brighten them up.
- Finish with one thin coat of mascara on the top lashes only.
- You can also add a light wash of neutral eyeshadow (like soft taupe or beige) on the lid for even more dimension.
The “Soft Grunge” Vibe (Lived-in & Cool)
This look is perfect for parties when you want to stand out, or for everyday wear if your style leans toward sporty or oversized pieces. It looks effortless and intentionally undone.
Here’s how to create this look:
- Start with your basic skincare routine so the skin looks clean and hydrated.
- Use concealer only where needed to even out the tone while keeping the skin natural.
- Lightly line the upper lash line with a kohl pencil and softly smudge it for a worn-in effect. Apply one light coat of mascara, focusing on separation rather than volume.
- Lips should look hydrated, not glossy, so a clear or tinted balm works best.
The “Coquette” Aesthetic (Soft, Pink, & Girly)
This is a perfect choice for days when you want to feel like a princess or simply add a touch of femininity to your look. It feels soft, romantic, and effortlessly pretty.
Here’s how to create this look:
- Start with well-hydrated skin and a light base.
- Use concealer only where needed to keep the complexion fresh and natural.
- Add a soft pink blush to the apples of your cheeks and blend it gently.
- Use a small amount of pink or peach eyeshadow, or even just mascara on the lashes.
- Finish with a tinted lip balm or a soft pink gloss.
The “Academic” (Sharp & Focused)
This look is perfect for everyday wear when you don’t want to put too much emphasis on your appearance and instead want to create the image of a responsible student. It pairs especially well with school uniforms or classic trousers and button-down shirt outfits.
Here’s how to create this look:
- Start with clean, well-moisturized skin and keep the base minimal.
- Use a small amount of concealer only where needed to even out the complexion.
- A light coat of mascara is enough, or you can gently define the lash line with a thin line of kohl pencil for a subtle finish.
- Finish with a clear lip balm.
The “Sporty Fresh” Look (Clean, Active & Effortless)
Use this look if you’re heading out for a hike or simply want a more practical style. It feels fresh and with an emphasis on healthy skin rather than makeup.
Here’s how to create this look:
- Start with your basic skincare routine and make sure to apply SPF.
- Skip heavy base products and use concealer only where necessary.
- Keep the eyes minimal. One light coat of mascara or no mascara at all works perfectly.
- If needed, gently groom your brows to keep them looking neat and natural.
- Finish with a lip balm for hydration.
Tips for Long-Lasting Natural Makeup at School
For some people, makeup doesn’t last very well and needs constant touch-ups throughout the day. If you find yourself running to the restroom to fix your makeup, here are a few tips that can help it stay in place longer:
- Always start with clean, well-dried skin.
- Use thin layers instead of trying to cover everything at once.
- Let skincare and base products set for at least 30 seconds before adding the next step.
- Press makeup into the skin rather than rubbing it to improve longevity.
- Avoid touching your face during the day, even absentmindedly.
- Use a light setting spray to lock everything in without stiffness.
Dos and Don’ts
We’ve gathered some “Dos and Don’ts” to keep you looking fresh from the first period until the final bell:
| The “DO” | The “DON’T” |
| DO keep a spare lip balm or “emergency kit” in your locker. | DON’T try a new eyeliner wing for the first time on Monday morning. |
| DO wash your face as soon as you get home. | DON’T share mascara, liners, or lip gloss with your friends. |
| DO check your makeup in natural light (a window) before leaving. | DON’T wear heavy “Insta-glam” lashes to a 1st-period chemistry lab. |
| DO use a damp sponge for “no-makeup” skin. | DON’T use full-coverage “matte” foundation as a daily base. |
| DO blot with a clean napkin or toilet seat cover if you’re oily. | DON’T just keep piling on more powder throughout the day. |
| DO use a brown mascara for a softer, lash-extension look. | DON’T forget to blend your jawline into your neck. |
How to Customize for Your Skin Type?
Most tutorials fail because they don’t account for the fact that a 15-year-old’s skin is constantly changing. But we know how to make it work for you.
| Skin Type | The Strategy | The School-Bag Essential | The “Pro” Tip |
| Oily / Shiny | Focus on “matting” the T-zone while keeping the rest of the face natural | Pressed Powder | Use a primer only on your nose and forehead before your SPF. It acts as a barrier against oil |
| Dry / Flaky | Focus on “trapping” moisture. Avoid heavy powders that settle into dry spots | Facial Mist | Use a facial mist at lunch to “reactivate” your moisturizer. It wakes up your skin without moving your makeup |
| Combination | The “Hybrid” approach: Powder the oily spots, leave the dry spots dewy | Blotting Papers | Only apply concealer where you need it. Avoid putting product on areas that tend to flake or get too greasy |
| Acne-Prone | Focus on “calming” redness rather than “smothering” the breakout | Clean Concealer Brush | Use a green color-corrector (just a tiny dot) under your concealer. It cancels the red so you don’t need 10 layers of makeup |
Final Notes
We hope these tips help you make your day feel perfect. At the same time, we want to remind you that makeup is just makeup. Even if something does not go as planned, it does not change the fact that you are awesome.
Makeup should be the fun part of your morning. Use it to give yourself a little boost of “I’ve got this”, not to build a mask. If it feels heavy, wipe it off. If it’s not perfect, just laugh it off.